Welcome to the Worcester Greenstar 28i Junior Installation Manual. This guide provides essential information for safe and compliant installation, ensuring optimal boiler performance and efficiency.
1.1 Overview of the Worcester Greenstar 28i Junior Boiler
The Worcester Greenstar 28i Junior is a highly efficient condensing combi boiler designed for small to medium-sized homes. It offers reliable performance, combining both central heating and domestic hot water production in a compact unit. With a central heating output of 28 kW, it is ideal for properties with limited space while providing ample heating and hot water capacity. The boiler features a user-friendly interface and is compatible with a wide range of heating systems, making it a versatile choice for various installations. Its energy-efficient design ensures reduced fuel consumption and lower emissions, aligning with modern environmental standards. Built with durable components, the Worcester Greenstar 28i Junior is known for its long-term reliability and adherence to safety and performance regulations.
1.2 Key Features of the Worcester Greenstar 28i Junior
The Worcester Greenstar 28i Junior boasts several standout features that enhance its performance and user experience. It includes an advanced condensing technology, which maximizes energy efficiency by capturing heat from flue gases. The boiler is equipped with a robust SEDBUK A-rated design, ensuring high efficiency and lower energy bills. Additionally, it features a built-in frost protection system, preventing damage in freezing temperatures. The boiler also has a user-friendly control panel with clear displays and intuitive controls, making it easy to manage heating settings. Furthermore, it is compatible with Worcester’s range of smart controls, allowing for remote operation and scheduling. The Greenstar 28i Junior is also noted for its compact dimensions, making it ideal for installation in small spaces such as kitchen cupboards or utility rooms. These features collectively contribute to its reputation as a reliable and efficient heating solution.

System Requirements and Compatibility
Ensuring the Worcester Greenstar 28i Junior boiler is compatible with your heating system is crucial. It is designed for installation in GB and IE only, adhering to local regulations. The boiler supports both natural gas and Liquefied Petroleum Gas (LPG), providing flexibility for different setups. It must be installed by a qualified technician to meet safety and efficiency standards.

2.1 Boiler Compatibility with Different Heating Systems
The Worcester Greenstar 28i Junior boiler is designed to integrate seamlessly with various heating systems, including combi, system, and regular setups. It is compatible with both natural gas and Liquefied Petroleum Gas (LPG), offering flexibility for different fuel sources. The boiler is suitable for installation in GB and IE only, as it adheres to local gas safety regulations and standards. For optimal performance, it should be paired with compatible heating controls and components, such as programmers and thermostats. Additionally, the use of a Worcester Bosch Greenstar System Filter is recommended to ensure longevity and efficiency. Always ensure the boiler is installed in accordance with the manufacturer’s instructions and local building codes to maintain safety and warranty validity.
2.2 Space Requirements for Installation
The Worcester Greenstar 28i Junior boiler is compact, making it suitable for installation in small spaces. Its dimensions (700mm x 400mm x 300mm) allow for flexible placement in kitchens, utility rooms, or cupboards. Proper clearance is essential for ventilation and maintenance. Ensure at least 10mm of clearance on all sides, 50mm above, and 100mm in front of the boiler for service access. It is designed for wall-mounted installation, saving floor space. The boiler must be mounted on a suitable wall using the provided fixings, ensuring the wall can support its weight. Avoid installing in areas exposed to extreme temperatures or water ingress. These space requirements ensure safe, efficient operation and compliance with safety standards, while also maintaining the product warranty. Proper installation location is critical for optimal performance and longevity.
Safety Guidelines for Installation

Adhere to all safety codes and regulations. Ensure proper ventilation and avoid flammable materials nearby. Only qualified professionals should perform the installation to prevent hazards and ensure compliance with safety standards.

3.1 General Safety Precautions
Before starting the installation, ensure all safety protocols are followed. Wear appropriate protective gear, including gloves and safety glasses. Ensure the installation area is well-ventilated and free from flammable materials. Turn off the main power and gas supply before handling any components. Never attempt to install the boiler without proper training or qualifications. Follow all local safety regulations and manufacturer guidelines to minimize risks. Keep the area clear of debris and ensure proper lighting. Always refer to the manual for specific safety instructions related to the Worcester Greenstar 28i Junior boiler. Failure to adhere to these precautions may result in injury or system damage. Ensure all tools and equipment are in good working condition before use.
3.2 Gas and Electrical Safety Considerations
When handling gas and electrical components of the Worcester Greenstar 28i Junior, utmost care is essential. Ensure all gas connections are secure and leak-tested using approved methods. Never use open flames for leak detection. Electrical connections must comply with local regulations and be carried out by a qualified electrician. Ensure the boiler is correctly earthed to prevent electrical hazards. Gas lines should be installed in accordance with the Gas Safety (Installation and Use) Regulations. Always use genuine Worcester Bosch components to maintain safety and warranty validity. Disconnect the power supply before servicing any electrical parts. Keep the area clear of sparks and ignition sources during gas-related tasks. Adhere strictly to the manufacturer’s guidelines and safety codes to ensure a safe and reliable installation.
Pre-Installation Preparation
Before installation, ensure the system is compatible with the Worcester Greenstar 28i Junior. Check existing heating and electrical systems for compatibility and prepare necessary tools and materials.

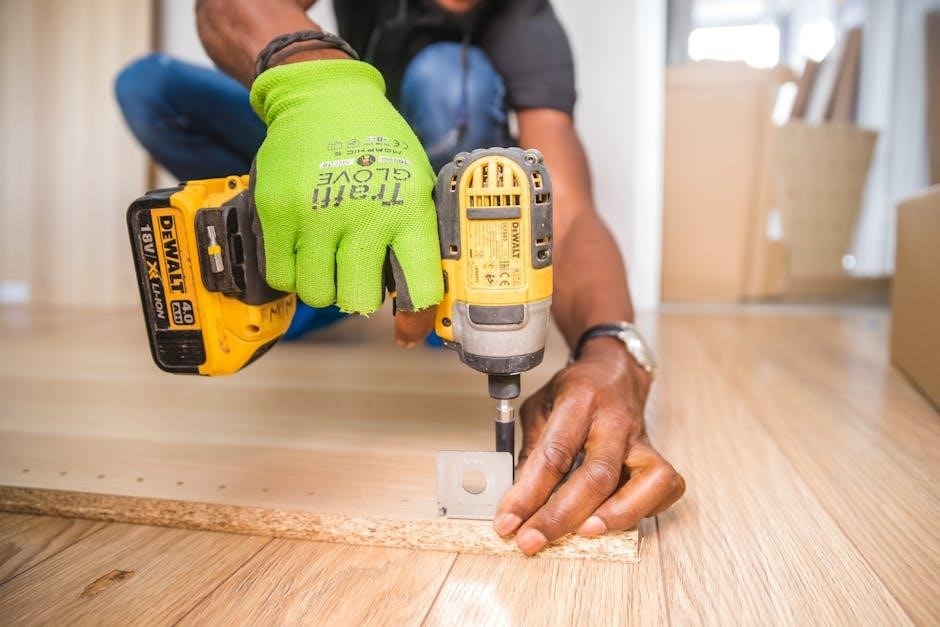
4.1 Tools and Materials Needed
To ensure a smooth installation of the Worcester Greenstar 28i Junior, gather the necessary tools and materials beforehand. Essential tools include a multimeter, pipe cutters, spanners, and screwdrivers. Materials required are copper piping, fittings, and a drain valve. Ensure compatibility of all components with the boiler’s specifications. Additional items like a system filter and inhibitor are recommended to protect and optimize the heating system. Always refer to the manual for specific requirements to avoid installation delays or potential issues. Proper preparation ensures compliance with safety standards and manufacturer guidelines.
4.2 Understanding the Boiler Controls and Components
Familiarizing yourself with the Worcester Greenstar 28i Junior’s controls and components is crucial for proper installation and operation. The boiler features a user-friendly control panel with a digital display, enabling easy adjustment of settings. Key components include the gas valve, heat exchanger, and pressure sensor. The diverter valve directs water flow between central heating and hot water modes. Additionally, the boiler includes safety features such as a pressure gauge and fault diagnostics. Understanding these elements ensures safe and efficient installation. Always refer to the manual for detailed diagrams and descriptions. Proper knowledge of these components helps in troubleshooting and maintaining the system effectively, ensuring compliance with manufacturer guidelines and optimizing performance.
Installation Process
The Worcester Greenstar 28i Junior installation involves mounting the boiler, connecting pipework, and configuring electrical connections. Follow manual instructions for precise setup and optimal performance.
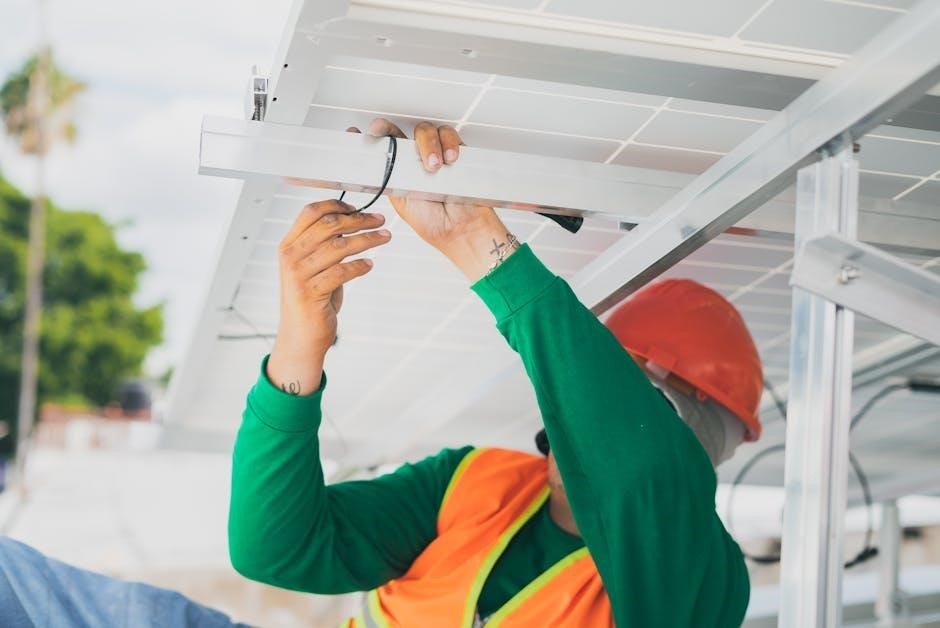
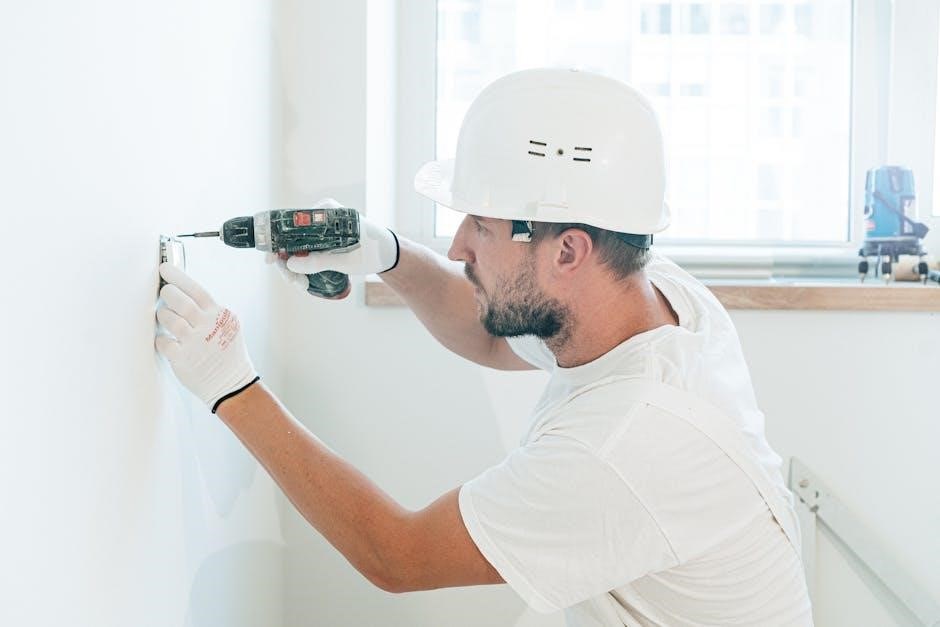
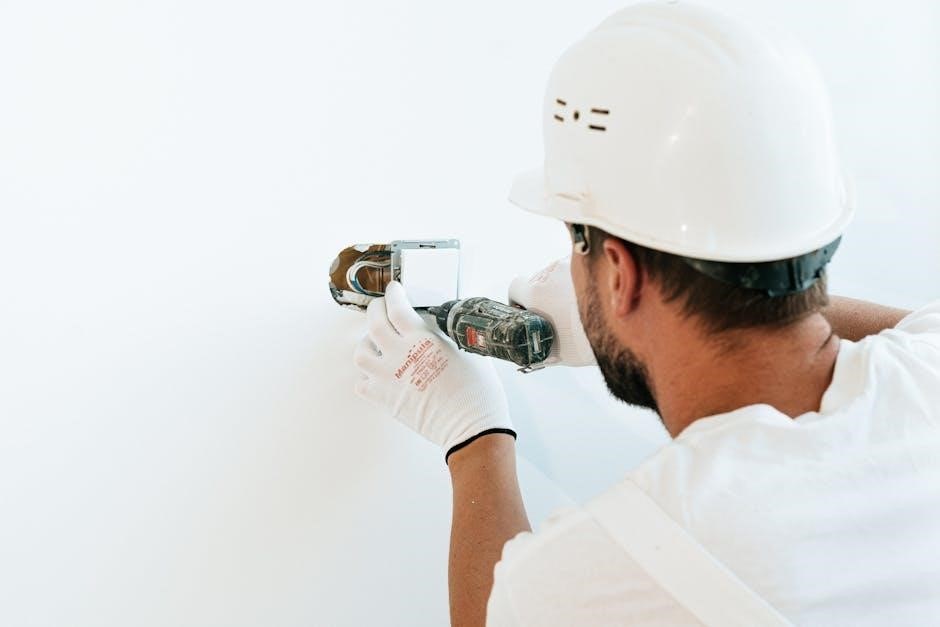
5.1 Mounting the Boiler
The Worcester Greenstar 28i Junior boiler must be mounted securely on a suitable wall to ensure stability and proper operation. Begin by preparing the wall surface, ensuring it is flat, dry, and free from obstructions. Use the provided wall bracket and fixing template to mark the drill holes accurately. Drill into the wall at the marked positions and insert wall plugs to support the bracket. Mount the bracket firmly, ensuring it is level and aligned correctly. Once the bracket is secured, carefully lift the boiler and hang it onto the bracket, making sure it clicks into place. Check the boiler’s level and alignment again to confirm proper installation. Tighten all screws to ensure the boiler is firmly attached to the wall. Refer to the manual for specific dimensions and torque specifications to avoid over-tightening. Ensure all connections remain accessible for future maintenance. Proper mounting is critical for safety, efficiency, and compliance with installation guidelines.
5.2 Connecting Pipework and Electrical Connections

Connecting the pipework and electrical connections for the Worcester Greenstar 28i Junior boiler requires careful attention to ensure safe and efficient operation. Begin by preparing the necessary pipework, ensuring all connections align with the boiler’s ports. Use appropriate materials, such as copper piping, and fit compression fittings securely. Connect the flow and return pipes to the corresponding terminals on the boiler, ensuring no leaks. For electrical connections, refer to the wiring diagram provided in the manual. Connect the power supply, programmer, and any external controls according to the manufacturer’s instructions. Ensure all electrical connections are secure and meet safety standards. Finally, perform a system test to check for leaks and proper electrical function. Always follow Gas Safety (Installation and Use) Regulations 1998 and IEE Wiring Regulations when carrying out these connections.
5.3 Initial Setup and Configuration
After installing and connecting the Worcester Greenstar 28i Junior boiler, proceed with the initial setup and configuration. Power on the boiler and ensure all controls are functioning correctly. Use the control panel to set the desired temperature and timing for central heating and hot water. Refer to the user manual for detailed instructions on configuring the timer and modes. Check the gas and water pressure to ensure they meet the recommended levels. Perform a test cycle to verify proper operation, including ignition, water flow, and heat distribution. Ensure all safety features, such as frost protection and overheating prevention, are active. Finally, test the system for leaks and proper function. Always follow the manufacturer’s guidelines and safety standards during this process. Leave the user manual and installation documents with the homeowner for future reference.