The Honeywell TH8320R1003 is a VisionPRO 8000 Series touchscreen programmable thermostat with RedLINK technology, designed for residential and commercial use. It offers 7-day programming, precise temperature control, and energy efficiency, making it a versatile and reliable HVAC solution.

Installation Steps
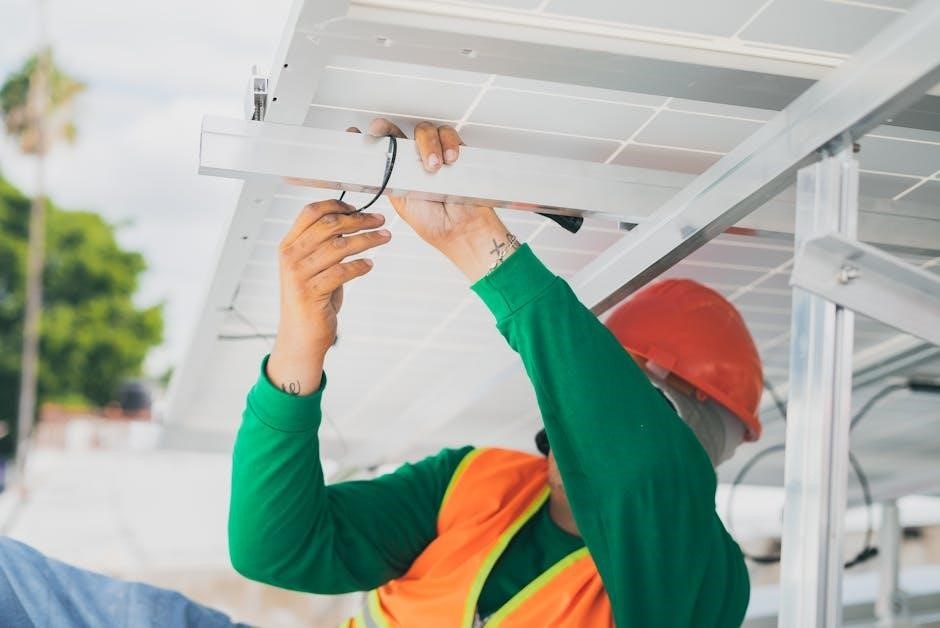
Start by disconnecting power to the HVAC system for safety. Remove the old thermostat carefully and separate the wallplate from the new Honeywell TH8320R1003. Mount the wallplate according to the manufacturer’s instructions and connect the wires to the appropriate terminals. Attach the thermostat to the wallplate, restore power, and proceed with the initial setup.
2.1. Preparing the Site and Mounting the Wallplate
Before installing the Honeywell TH8320R1003 thermostat, ensure the site is prepared properly. Turn off the power to the HVAC system at the circuit breaker or fuse box to avoid electrical hazards. Remove the old thermostat carefully and set it aside. Inspect the wall for any damage or unevenness and make necessary repairs.
Next, separate the wallplate from the thermostat by pressing the release button at the top and pulling it away. This allows you to mount the wallplate independently. Locate the mounting screws and wall anchors provided in the installation kit. Drill pilot holes in the wall using a 3/16-inch drill bit to ensure secure mounting. Insert the wall anchors into the holes and screw the wallplate into place, ensuring it is level and firmly attached.
Once the wallplate is mounted, you can reattach the thermostat by aligning it with the wallplate and pressing firmly until it clicks into place. Double-check that all connections are secure and the thermostat is properly seated. This step ensures a stable foundation for the thermostat’s operation.
2.2. Wiring and Connecting Components
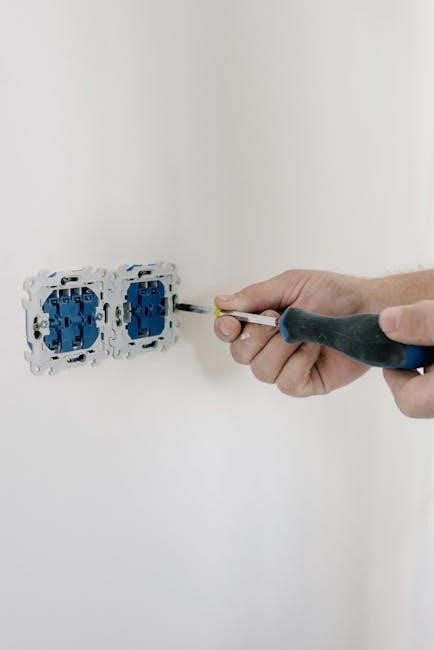
Once the wallplate is securely mounted, proceed to wire the Honeywell TH8320R1003 thermostat. Begin by matching the wires from your HVAC system to the appropriate terminals on the wallplate. Refer to the wiring diagram in the installation manual to ensure correct connections. For most systems, the R (24V power), W (heat), Y (cool), G (fan), and C (common) wires must be connected properly.
If your system requires a common wire (C), ensure it is connected to the C terminal on the wallplate. If no C wire is available, you may need to use a compatible adapter or check if the thermostat can operate without it. For heat pumps or dual-fuel systems, additional wiring may be required to accommodate auxiliary heat and other components.
After wiring, connect any optional RedLINK accessories, such as wireless sensors or remote controls, following the manufacturer’s instructions. Ensure all connections are tight and secure to prevent electrical issues. Power on the HVAC system and test the thermostat to verify proper operation. If you encounter any issues, consult the troubleshooting section of the manual or contact a licensed technician. Proper wiring is critical for the thermostat to function accurately and efficiently.

Key Features of the Thermostat
The Honeywell TH8320R1003 features a touchscreen interface, 7-day programmability, and energy-saving schedules. It supports heat, cool, and fan modes, with compatibility for various HVAC systems. RedLINK technology enables wireless connectivity for enhanced functionality and system control.
3.1. Touchscreen Interface and Navigation
The Honeywell TH8320R1003 features an intuitive touchscreen interface designed for easy navigation and operation. The high-resolution display provides clear visibility of current temperature, system mode, and outdoor conditions. Users can access menu options to set schedules, view equipment status, and adjust settings like fan mode or heat/cool preferences. The interface offers plain-language prompts, reducing installation and setup errors. Advanced features include energy-saving schedules and IAQ (Indoor Air Quality) settings. The touchscreen also supports RedLINK technology for wireless connectivity, enabling seamless integration with other Honeywell devices. The interface is responsive and user-friendly, allowing for quick adjustments and programming. Additional features like service reminders and sensor selection ensure optimal performance and convenience. The thermostat’s touchscreen is designed to simplify HVAC management, making it accessible for both homeowners and professionals.
The Honeywell TH8320R1003 user guide provides comprehensive instructions for installation, configuration, and troubleshooting. It includes detailed steps for setting up schedules, navigating the touchscreen interface, and utilizing RedLINK features. The manual ensures smooth operation and optimal performance of the thermostat. The initial setup of the Honeywell TH8320R1003 thermostat involves several key steps to ensure proper functionality. First, the thermostat must be powered either by connecting it to the HVAC system or through the installation of two AAA alkaline batteries. Once powered, the thermostat will guide the user through a series of on-screen prompts to configure basic settings, such as system type (heat pump, gas, electric), temperature units (Fahrenheit or Celsius), and time zone selection. These settings are crucial for accurate temperature control and scheduling. Additionally, users can set up schedules for heating and cooling, which can be customized for each day of the week. The thermostat also features plain-language on-screen instructions that simplify the setup process, reducing the likelihood of errors. This intuitive design ensures that even users without prior experience can navigate the configuration effortlessly. By following these steps, users can quickly and efficiently set up their thermostat to meet their specific needs and preferences. The Honeywell TH8320R1003 thermostat is equipped with RedLINK technology, a reliable wireless communication system designed to enhance connectivity and control. RedLINK enables seamless communication between the thermostat and compatible wireless accessories, such as remote sensors and RedLINK-enabled devices, ensuring optimal performance and flexibility. This technology operates on a secure, 500-foot range wireless network, providing interference-free communication and eliminating the need for additional wiring. With RedLINK, users can integrate advanced features like remote temperature sensing, humidity control, and energy management. The thermostat can also connect to wireless accessories, such as the RedLINK Internet Gateway, allowing for remote monitoring and control via Honeywell’s Total Connect Comfort app. This connectivity not only improves convenience but also enhances energy efficiency by enabling precise temperature adjustments and smart system operation. RedLINK’s robust design ensures reliable performance, even in environments with multiple wireless devices. By leveraging RedLINK technology, the Honeywell TH8320R1003 offers a modern, connected solution for managing home or commercial HVAC systems. When encountering issues with the Honeywell TH8320R1003, it’s essential to follow a systematic approach to resolve them efficiently. One common issue is the thermostat not powering on, which can often be addressed by checking the circuit breaker or ensuring the HVAC system’s power is switched on. If the display is unresponsive, restarting the thermostat by removing and reinserting the batteries may resolve the problem. Another frequent concern is incorrect temperature readings, which can be caused by improper calibration or sensor malfunctions. Users should verify that the thermostat is mounted level and away from direct sunlight or drafts. For connectivity issues with RedLINK accessories, ensure all devices are within the recommended range and that there are no physical obstructions. Additionally, resetting the thermostat to factory settings can often resolve persistent problems. Always refer to the installation manual for specific troubleshooting steps, and if issues persist, contacting a professional HVAC technician is recommended. Regular maintenance and software updates can also help prevent many common issues. Proper installation and regular maintenance are crucial for ensuring the Honeywell TH8320R1003 thermostat operates efficiently and effectively. Always follow the installation manual’s guidelines, starting with disconnecting power to the HVAC system before beginning any work. Mount the wallplate on a flat surface, ensuring it is level and securely fastened. When wiring, double-check connections to avoid damage to the system or thermostat. After installation, test all functions to confirm they work correctly. For maintenance, clean the touchscreen regularly with a soft cloth to prevent dust buildup and ensure accurate touch responses. Replace batteries as needed, using fresh AAA alkaline batteries to maintain reliable performance. Additionally, update the thermostat’s software periodically to access the latest features and improvements. Inspect the wiring and connections annually to prevent wear and tear. By adhering to these best practices, you can extend the lifespan of the thermostat, optimize energy efficiency, and ensure consistent comfort in your home or office. Regular maintenance also helps prevent common issues and ensures the thermostat continues to function at its best.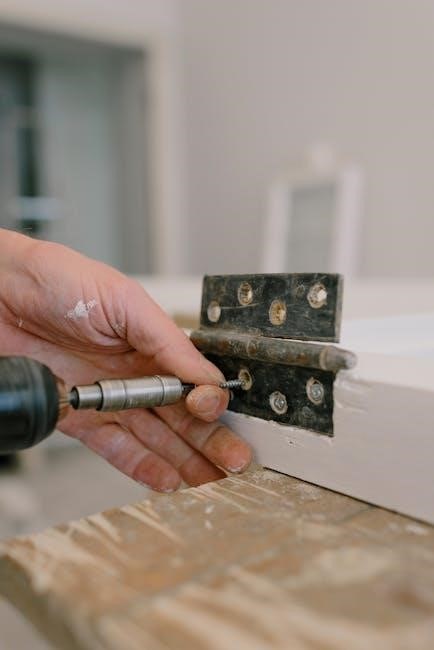
User Guide and Manual

4.1. Initial Setup and Configuration
RedLINK Technology and Wireless Connectivity
Troubleshooting Common Issues
Best Practices for Installation and Maintenance