The Honeywell TH5220D1003 is a non-programmable digital thermostat designed for simplicity and efficiency; It offers precise temperature control and compatibility with various HVAC systems. This thermostat is part of Honeywell’s FocusPro series, known for its ease of use and energy-saving features.
Pre-Installation Checklist
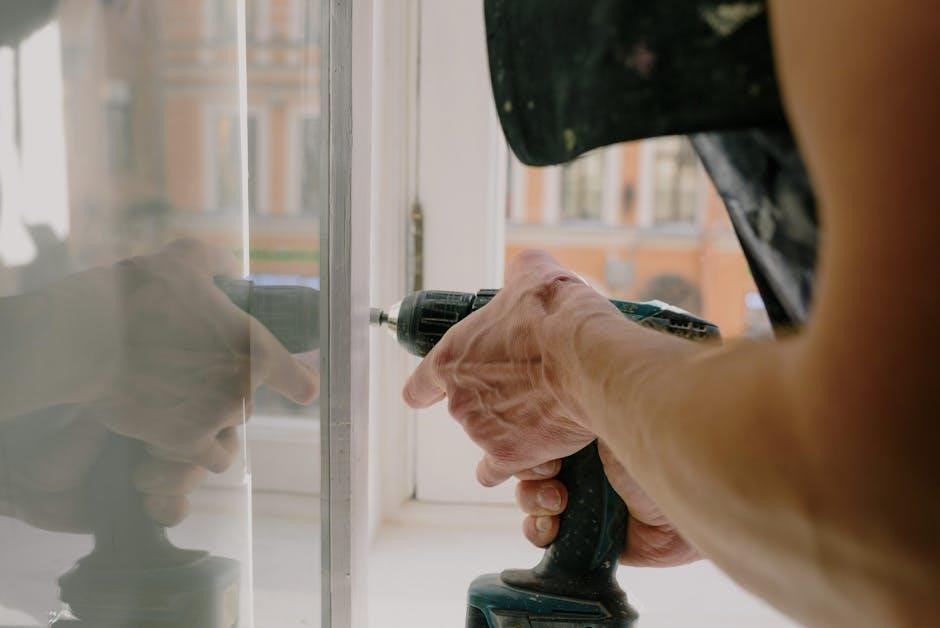
Before installing the Honeywell TH5220D1003 thermostat, ensure you have all necessary components and tools. Verify the package includes the thermostat, wallplate, mounting screws, wall anchors, and AA alkaline batteries. Required tools include a No. 2 Phillips screwdriver. Check system compatibility with your HVAC setup, ensuring it supports the thermostat’s features. Review the wiring diagram to confirm terminal connections match your system. Turn off power to the HVAC system at the circuit breaker to avoid electrical hazards; Familiarize yourself with local electrical codes and regulations. If unsure, consult a licensed professional. Remove any existing thermostat and label wires for reference. Ensure the installation location is 5 feet above the floor for accurate temperature sensing. Avoid areas with direct sunlight, drafts, or extreme temperatures. Verify the thermostat’s orientation matches your wall type (single or double gang). Ensure proper battery installation for system functionality. Double-check all connections before restoring power. This checklist ensures a smooth and safe installation process.

Installation Process
The installation of the Honeywell TH5220D1003 begins with removing the old thermostat and labeling the wires; Mount the new wallplate, ensuring it is level and securely fastened. Connect the wires to the appropriate terminals, following the wiring diagram. Restore power and test the system to ensure proper operation.
3.1 Wallplate Installation
Begin by removing the wallplate from the thermostat. Gently pull the wallplate away from the device to separate it. Locate the mounting holes on the back of the wallplate and align them with the desired installation location on the wall.
Ensure the wallplate is level using a spirit level. Mark the screw holes with a pencil and drill pilot holes if necessary. Insert wall anchors into the holes to provide a secure mounting surface. Screw the wallplate into place using the provided mounting screws.
Once the wallplate is securely mounted, reattach the thermostat by aligning the tabs on the thermostat with the slots on the wallplate. Gently push the thermostat onto the wallplate until it clicks into place. Ensure the device is firmly attached and the display is facing outward for easy access.
This step ensures a stable and proper installation of the thermostat, providing a solid foundation for the rest of the setup process. Proper alignment and secure mounting are critical for accurate temperature sensing and reliable operation.
Wiring and Connections
Ensure the power to the HVAC system is turned off before proceeding. Refer to the wiring diagram in the manual for specific connections; Match the wires from the HVAC system to the appropriate terminals on the thermostat. Secure all connections tightly to avoid issues. Always follow safety guidelines to prevent electrical hazards.
4.1 Terminal Designations
Understanding the terminal designations is crucial for proper wiring. The Honeywell TH5220D1003 thermostat features labeled terminals corresponding to specific HVAC system functions:
- R: Power supply from the heating/cooling system (24V AC).
- W: Heating stage (connects to the heating equipment).
- Y: Cooling stage (connects to the air conditioning or cooling equipment).
- G: Fan operation (controls the blower or fan).
- C: Common terminal (required for proper thermostat operation).
- O/B: Reversing valve for heat pumps (if applicable).
- E: Emergency heat (for heat pumps, if equipped).
- L: Continuously powered terminal (if required by the system).
Refer to the wiring diagram in the manual for specific configurations. Ensure all connections are secure and match the system requirements to avoid malfunctions. Always turn off power before making or changing connections. Proper terminal connections are essential for safe and efficient operation of the thermostat and HVAC system. If unsure, consult a licensed technician for assistance. Improper wiring can lead to system damage or safety hazards.
Installer Setup
The Installer Setup section allows technicians to configure the thermostat to match the specific HVAC system requirements. This step ensures optimal performance and compatibility with the installed equipment.
- System Type: Select the correct system type (e.g., 2-Heat/1-Cool, Heat Pump, or Dual Fuel) to align with the HVAC configuration.
- Temperature Range: Set the desired temperature range to prevent extreme heating or cooling beyond the system’s capability.
- Fan Operation: Configure fan settings, such as continuous operation or automatic control, based on the system design.
- Changeover Mode: Choose between manual or automatic changeover for heat and cool modes, depending on the system type.
- Heat/Cool Differential: Adjust the temperature differential to prevent frequent cycling of the HVAC system.
- Installer-Specific Options: Additional settings may include enabling auxiliary heat, configuring stage settings, or adjusting system delays.
Proper setup ensures the thermostat operates efficiently and integrates seamlessly with the HVAC system. Refer to the installation manual for detailed instructions on each setting. Improper configuration may lead to suboptimal system performance or safety issues. Always follow manufacturer guidelines and safety precautions during setup.
System Testing
System testing is a critical step after installation to ensure the Honeywell TH5220D1003 thermostat operates correctly with the HVAC system. This process verifies proper functionality, safety, and performance.
- Power-On Test: Turn on the power to the HVAC system and thermostat. Ensure the display lights up and shows the correct temperature.
- Heating and Cooling Test: Switch between heating and cooling modes to confirm the system responds appropriately. Listen for the relay clicks and verify airflow.
- Fan Operation Test: Check the fan settings (Auto/On) to ensure the fan operates as configured. Verify continuous fan operation if selected.
- Temperature Accuracy Test: Set a target temperature and observe if the system reaches and maintains it. This ensures the thermostat’s accuracy.
- System Type Verification: Confirm the system type (e.g., heat pump, gas furnace) is correctly configured in the Installer Setup to avoid operational issues.
- Differential Check: Test the temperature differential to ensure the system cycles correctly and does not short cycle.
After completing these tests, observe the system for at least 15 minutes to ensure stable operation. If any issues arise, refer to the troubleshooting section or consult the installation manual for guidance. Proper testing ensures reliable performance and prevents potential safety hazards. Always follow safety precautions when working with electrical systems.
Troubleshooting Common Issues
Troubleshooting the Honeywell TH5220D1003 thermostat involves identifying and resolving common issues that may arise during or after installation. Below are some frequent problems and their solutions:
- Incorrect Wiring: If the thermostat does not power on or the HVAC system does not respond, check the wiring connections. Ensure all wires match the terminal designations and are securely connected. Refer to the wiring diagram in the manual.
- Faulty Connections: Loose or corroded connections can cause intermittent operation. Inspect and tighten all wire connections at both the thermostat and HVAC system.
- System Not Turning On: Verify that the power to the HVAC system is on. Check the circuit breaker or fuse box to ensure power is supplied to the system.
- Display Not Working: If the display is blank, replace the AA alkaline batteries. Ensure they are installed correctly and not exhausted.
- Temperature Inaccuracy: Calibrate the thermostat if it consistently misreads the room temperature. Use the “Setup” menu to adjust the temperature offset if necessary.
- System Not Heating/Cooling: Test the system type configuration in the Installer Setup. Ensure it matches your HVAC system (e.g., heat pump, gas furnace). Run a system test to confirm proper operation.
If issues persist, consult the troubleshooting section of the manual or contact Honeywell customer support for further assistance. Always follow safety precautions when troubleshooting electrical systems.