Char-Broil Grill Instructions: A Comprehensive Guide
Welcome to mastering your Char-Broil grill! This guide, updated as of today – 04/15/2026 – provides detailed instructions, leveraging Windows Snipping Tool insights, for optimal grilling experiences․
Utilize the Snipping Tool for capturing essential details, editing screenshots, and sharing tips, ensuring a seamless setup and operation of your Char-Broil appliance․
Understanding Your Char-Broil Grill Model
Identifying your specific Char-Broil grill model is the crucial first step․ Variations exist in burner configurations, features like electronic ignition, and overall design – information readily captured using the Windows Snipping Tool for future reference․
Locate the model number and serial number, typically found on a sticker affixed to the grill’s body, often near the control panel or underneath the cooking box․ This information is vital when seeking specific parts, troubleshooting, or accessing detailed manuals․
Char-Broil offers diverse grill types: gas, charcoal, and even infrared models․ Understanding your grill’s fuel source dictates the subsequent setup and operation procedures․ The Snipping Tool can assist in documenting these details․
Familiarize yourself with the grill’s components: burners, cooking grates, heat tents (flavorizer bars), grease management system, and control knobs․ Knowing each part’s function enhances your grilling experience and simplifies maintenance, as highlighted in Windows 11’s Snipping Tool guides․
Unboxing and Initial Setup
Carefully unpack your Char-Broil grill, ensuring all components are present․ Refer to the parts list in the manual – a document easily screenshot and annotated using the Windows Snipping Tool for quick verification․ Inspect for any shipping damage; contact the retailer immediately if issues arise․
Assemble the grill following the provided instructions․ Pay close attention to securing all bolts and screws; proper assembly is critical for safety and performance․ The Snipping Tool can capture diagrams for clarity during assembly․
Before first use, wash the cooking grates and heat tents with warm, soapy water․ This removes any manufacturing residues․ Ensure everything is completely dry before proceeding․
Place the grill on a level, non-combustible surface, away from flammable materials․ Verify adequate ventilation․ Double-check all connections before connecting the fuel source, utilizing screenshots from the Snipping Tool as a visual guide․
Fueling Your Char-Broil Grill: Propane vs․ Natural Gas
Char-Broil grills offer flexibility with propane and natural gas fuel options․ Propane is convenient, utilizing disposable tanks, ideal for portability and areas without natural gas lines․ Natural gas provides a continuous fuel supply, eliminating tank changes, but requires a dedicated gas line․
Propane tanks are readily available, but require monitoring and refilling․ Natural gas offers consistent pressure, potentially leading to more even heating․ Consider your usage frequency and location when choosing․
Conversion kits are available to switch between propane and natural gas, but professional installation is highly recommended for natural gas connections․ Always verify compatibility with your specific grill model․
Utilize the Snipping Tool to capture images of fuel connection points for reference․ Remember safety first – always check for leaks after connecting any fuel source․ A screenshot of the safety checklist is a good idea!
Propane Tank Connection and Safety
Connecting a propane tank to your Char-Broil grill requires careful attention to safety․ Ensure the grill is completely cool and the burners are off before attempting any connection․ Inspect the tank valve for damage before use․
Slowly open the propane tank valve, listening for any hissing sounds indicating a leak․ Apply a soapy water solution to the connection points; bubbles will reveal leaks․ Never use a match to check for leaks!
Securely tighten the regulator to the tank, following the grill’s instructions․ Store propane tanks outdoors in a well-ventilated area, away from heat sources․ Use the Snipping Tool to capture the regulator connection diagram for future reference․
Regularly inspect the hose for cracks or wear․ Replace the hose if damaged; Always disconnect the propane tank when the grill is not in use․ Prioritize safety – a screenshot of emergency contact information is wise․
Natural Gas Line Connection and Requirements
Converting to natural gas requires a qualified professional; do not attempt this yourself․ Ensure your local natural gas supply meets the BTU requirements specified in your Char-Broil grill’s manual․ A regulator designed for natural gas is essential․
The gas line must be properly sized to deliver adequate pressure․ A shut-off valve should be installed near the grill for easy access in emergencies․ All connections must be leak-tested with a soapy water solution after installation․
Local codes and regulations regarding natural gas connections vary; adhere to all applicable rules․ Use the Snipping Tool to document the gas line installation for inspection purposes․ Proper ventilation is crucial when using a natural gas grill․
Regularly inspect the gas line and connections for damage or corrosion․ If you smell gas, immediately shut off the supply and contact your gas company․ Safety is paramount – capture a screenshot of emergency numbers․
Lighting Your Char-Broil Grill: Step-by-Step Instructions
Before lighting, ensure the grill lid is open․ For electronic ignition, simply turn the control knob to the “High” or “Light” position and press the igniter button repeatedly․ Listen for a clicking sound and watch for a flame․ If it doesn’t light after several attempts, proceed to match lighting․
Match lighting requires a long-stemmed lighter or match․ Carefully insert the lit match through the designated lighting hole, near the burner, while simultaneously turning the control knob to “High”․ Be cautious and keep your hands away from the burner․
If using the Snipping Tool to document the process, capture a clear image of the lighting hole location․ Once lit, gradually increase the heat to the desired level․ Always supervise the grill while in operation․
If a burner fails to light, turn off the gas supply and allow it to dissipate before attempting to relight․ Consult the troubleshooting section if issues persist․
Lighting with Electronic Ignition
Initiating the electronic ignition on your Char-Broil grill is straightforward․ First, confirm the grill lid is fully open for safety․ Then, select the burner you wish to ignite and turn its control knob to the “High” or “Light” setting․ This releases gas to the burner․
Next, press the igniter button repeatedly․ You should hear a distinct clicking sound as the igniter generates a spark․ Observe the burner carefully; a flame should appear within a few seconds․ If the burner doesn’t ignite immediately, continue pressing the igniter button for up to 10 seconds․
Utilize the Snipping Tool to capture a screenshot of the igniter button location for future reference․ If ignition still fails, consult the “Lighting with a Match” section or the troubleshooting guide․ Ensure the igniter is dry and clean for optimal performance․
Once lit, gradually adjust the burner control knob to your desired temperature setting․ Always monitor the flame and ensure consistent gas flow․
Lighting with a Match
If the electronic igniter fails, lighting your Char-Broil grill with a match is a reliable alternative․ Begin by opening the grill lid – a crucial safety step․ Locate the burner you intend to light and turn its control knob to the “High” or “Light” position, releasing gas․
Carefully insert a long-handled lighter or match through the designated lighting port near the burner․ Ignite the match before inserting it, and quickly bring the flame to the burner port․ You should see the burner ignite almost immediately․
Capture a screenshot using the Snipping Tool of the lighting port location for easy access․ If the burner doesn’t light on the first attempt, repeat the process․ Exercise extreme caution when using a match near gas lines․
Once lit, slowly turn the control knob to your desired temperature․ Monitor the flame closely and ensure a steady gas flow․ Remember to close the lid cautiously after ignition․
Preheating Your Grill for Optimal Cooking
Achieving the correct grilling temperature is vital for perfectly cooked food․ Preheating your Char-Broil grill ensures even heat distribution and searing capabilities․ After lighting, close the lid and set the burners to high․ Allow the grill to preheat for approximately 10-15 minutes․
Utilize a grill thermometer to monitor the internal temperature․ Ideal preheating temperatures range from 450°F to 550°F (232°C to 288°C) for searing, and 350°F to 450°F (177°C to 232°C) for general cooking․
Consider using the Snipping Tool to capture a screenshot of the temperature guide on your grill’s control panel․ Different Char-Broil models may have varying preheating times, so consult your specific model’s instructions․
A properly preheated grill will create beautiful grill marks, lock in juices, and cook food more efficiently․ Don’t rush this step – patience yields superior results!
Temperature Control and Burner Settings
Mastering temperature control is key to successful grilling․ Char-Broil grills typically feature multiple burners, allowing for direct and indirect cooking zones․ Adjusting burner knobs controls the flame height and, consequently, the temperature․
Lower settings are ideal for slow cooking, roasting, or keeping food warm․ Higher settings are perfect for searing steaks or quickly cooking vegetables․ Experiment with different burner combinations to create customized heat zones․
Utilize the Snipping Tool to capture a clear image of your grill’s burner control panel for quick reference․ Remember that ambient temperature and wind conditions can affect grilling temperatures, so adjustments may be necessary․
Consistent monitoring with a grill thermometer is crucial․ Practice and observation will help you understand how your Char-Broil grill responds to different settings, leading to perfectly cooked meals every time․
Grill Cleaning and Maintenance
Regular cleaning extends the life of your Char-Broil grill and ensures optimal performance․ After each use, burn off any remaining food residue by heating the grill on high for 10-15 minutes․ Allow it to cool completely before proceeding․
Cleaning the grates can be done with a grill brush while still warm․ For stubborn residue, use a grill cleaner specifically designed for your grate material․ The grease trap should be emptied and cleaned regularly to prevent flare-ups and fires․
Utilize the Snipping Tool to capture images of your grill’s components before disassembly for reassembly guidance․ Inspect burners for clogs and clean with a wire brush if necessary․ Proper maintenance prevents issues․
Annual deep cleaning includes a thorough inspection of all parts and lubrication of moving components․ Following these steps will keep your Char-Broil grill in top condition for years to come․
Cleaning the Grates
Maintaining clean grates is crucial for preventing food from sticking and ensuring flavorful results․ After each grilling session, while the grates are still warm – but cool enough to handle safely – use a sturdy grill brush to remove any leftover food particles․ Employ firm, even strokes․
For more stubborn, baked-on residue, consider using a specialized grill grate cleaner․ Capture before-and-after images with the Snipping Tool to track your progress and identify areas needing extra attention․ Always follow the cleaner’s instructions carefully․
Avoid abrasive cleaners that could damage the grate’s surface․ Cast iron grates benefit from occasional seasoning with cooking oil after cleaning․ Stainless steel grates require specific stainless steel cleaners to prevent corrosion․
Regular grate cleaning not only improves cooking performance but also extends the lifespan of your Char-Broil grill․ A clean grate is a happy grate!
Cleaning the Burners
Maintaining clean burners is vital for consistent and efficient heating․ Before cleaning, always disconnect the propane tank or natural gas line and allow the grill to cool completely․ Safety first!
Remove the burners according to your grill model’s instructions․ Use a wire brush or pipe cleaner to carefully clear any debris or obstructions from the burner ports․ Utilize the Snipping Tool to photograph the burner ports before and after cleaning for comparison․
Inspect the burners for any signs of damage, such as cracks or corrosion․ Replace damaged burners immediately․ Ensure the burner ports are clear and unobstructed for even flame distribution․
Reinstall the burners securely, ensuring they are properly aligned․ A clogged or damaged burner can lead to uneven heating and potentially dangerous flare-ups․ Regular burner cleaning ensures optimal grill performance and safety․
Cleaning the Grease Trap
Regularly emptying the grease trap is crucial for preventing grease fires and maintaining a clean grilling environment․ Locate the grease trap, typically positioned beneath the grill’s cooking area․ Remove the trap carefully, as it will contain hot grease․
Dispose of the collected grease responsibly – do not pour it down the drain! Line the grease trap with aluminum foil or a disposable liner for easier cleanup in the future․ Scrape away any remaining grease buildup with a plastic scraper․
Wash the grease trap with warm, soapy water and a degreasing agent․ Consider using the Snipping Tool to document the grease trap’s condition before and after cleaning for tracking purposes․
Thoroughly dry the grease trap before reinstalling it․ A full or overflowing grease trap poses a significant fire hazard․ Consistent grease trap maintenance ensures safe and enjoyable grilling sessions․
Troubleshooting Common Char-Broil Grill Issues
Facing issues with your Char-Broil grill? Here’s a quick guide to common problems․ If the grill won’t light, check the propane tank connection or the natural gas supply․ Ensure the igniter is clean and functioning correctly․ Utilize the Snipping Tool to capture images of wiring for reference․
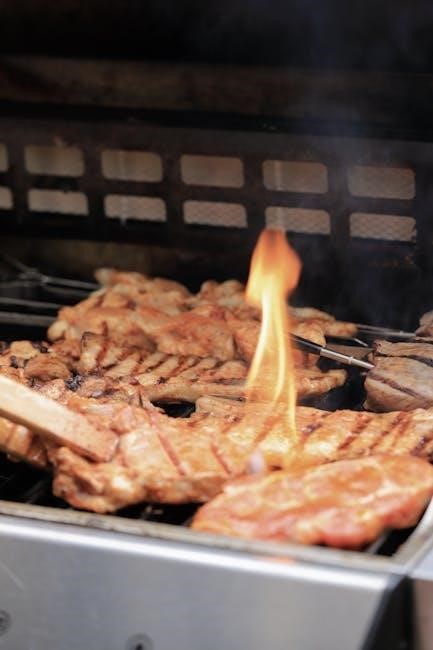
Uneven heating often indicates clogged burners․ Clean the burners thoroughly, removing any debris․ A low flame could signify a partially blocked gas valve or insufficient propane pressure․ For flare-ups, reduce heat and move food to a cooler zone․
If you notice rust, clean the affected areas and apply a high-heat paint designed for grills․ Document the rust’s location with a screenshot using the Snipping Tool before cleaning․ Always prioritize safety – disconnect the gas supply before any repairs․
Consult your owner’s manual for specific troubleshooting steps related to your model․
Safety Precautions When Using Your Char-Broil Grill
Prioritizing safety is crucial when operating your Char-Broil grill․ Always use the grill outdoors in a well-ventilated area, away from flammable materials․ Never leave a lit grill unattended․ Keep children and pets at a safe distance․ Capture safety guideline images with the Snipping Tool for quick reference․
Before each use, inspect the gas hose for cracks or leaks․ If you smell gas, immediately turn off the gas supply and do not attempt to light the grill․ Ensure the grease trap is empty to prevent flare-ups․ Wear appropriate heat-resistant gloves and clothing․
Never modify the grill in any way․ Use only Char-Broil approved accessories․ Document any modifications (which are discouraged!) with a Snipping Tool screenshot before proceeding; Store propane tanks upright and away from heat sources․
Regularly check all connections and components for wear and tear․
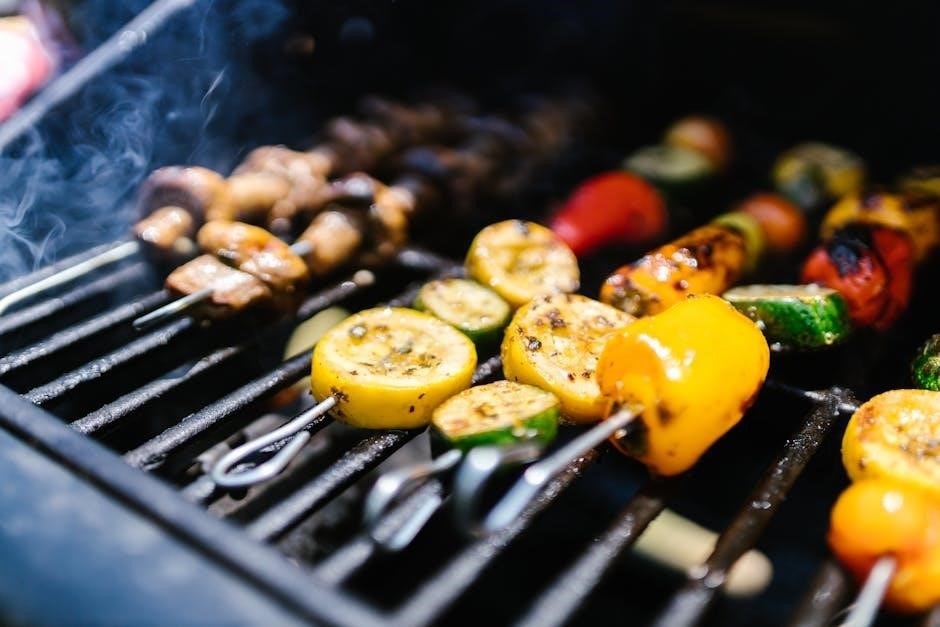
Char-Broil Grill Recipes: Getting Started
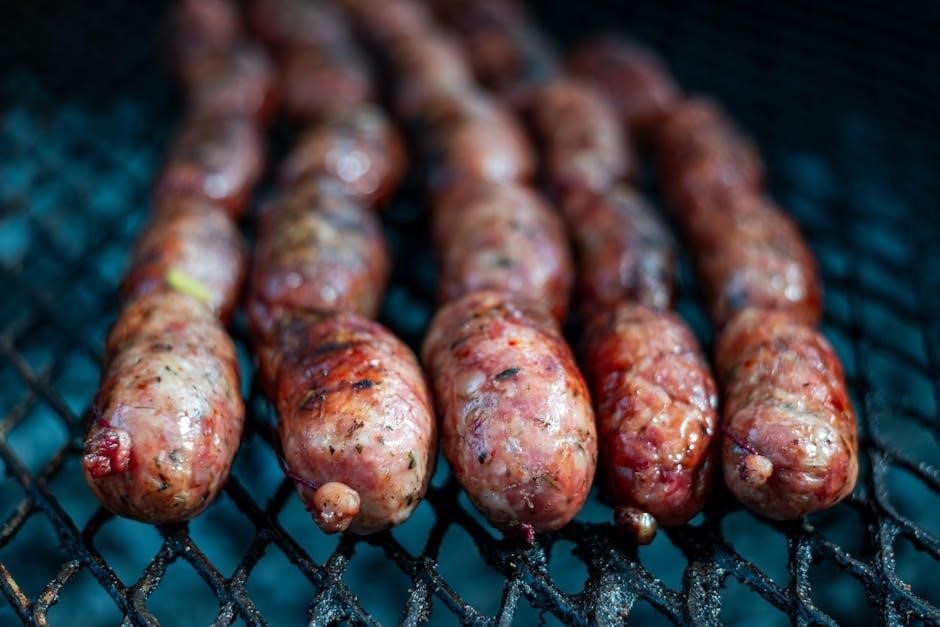
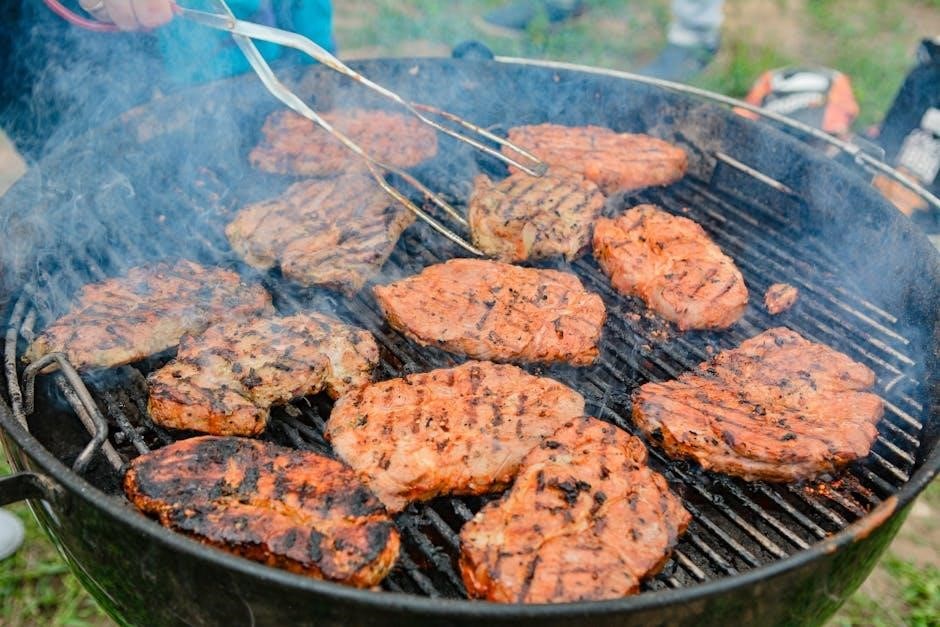
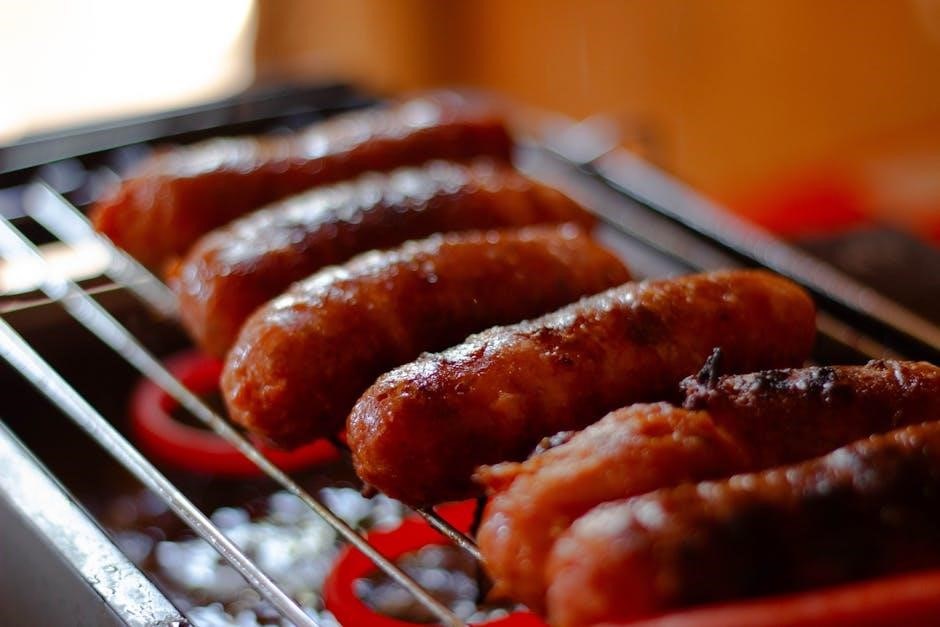
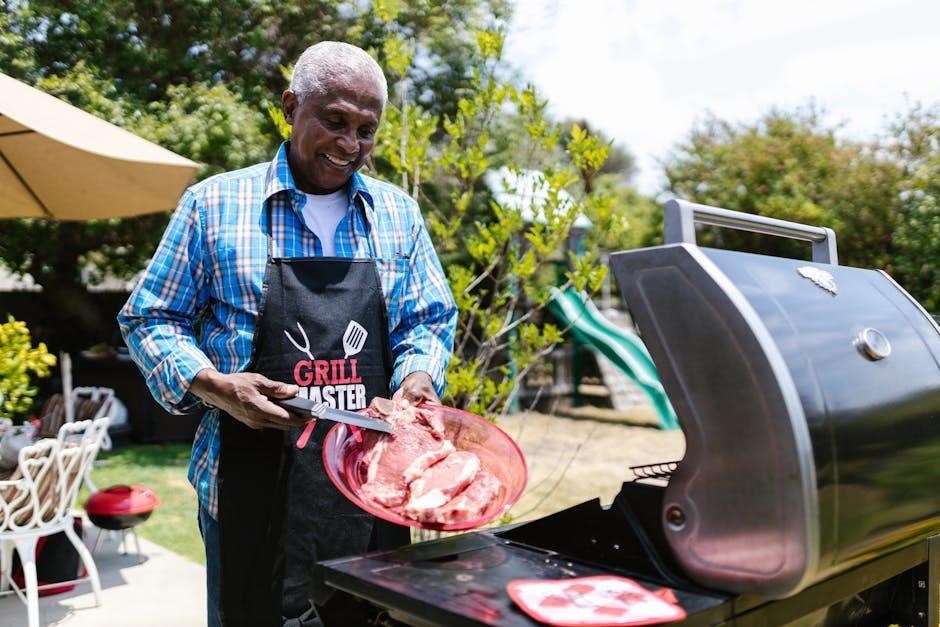
Embark on a culinary adventure with your Char-Broil grill! Begin with simple recipes to familiarize yourself with temperature control and cooking times․ Classic burgers and hot dogs are excellent starting points․ Marinate meats for enhanced flavor and tenderness – capture marinade recipes using the Snipping Tool for easy access․
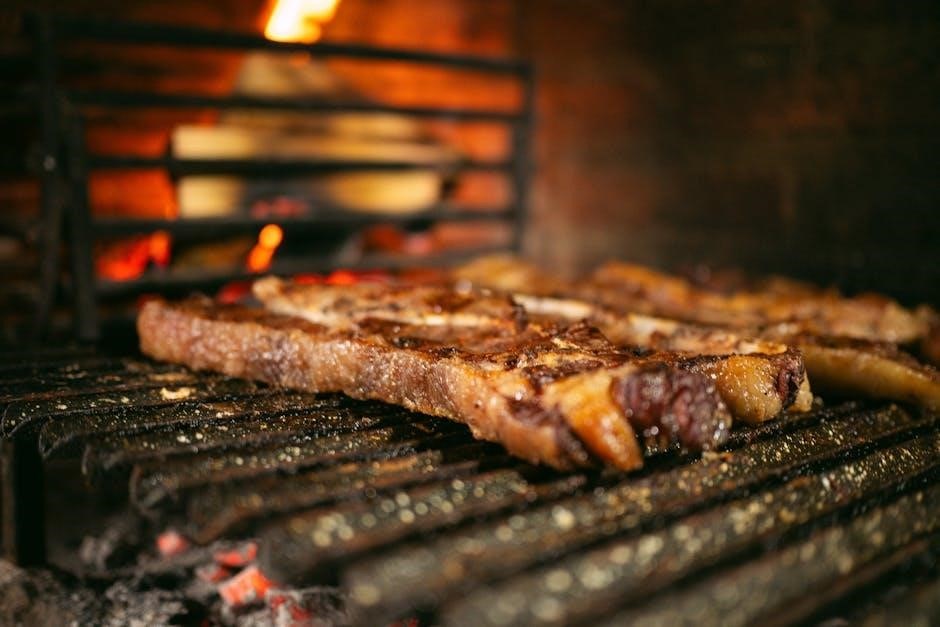
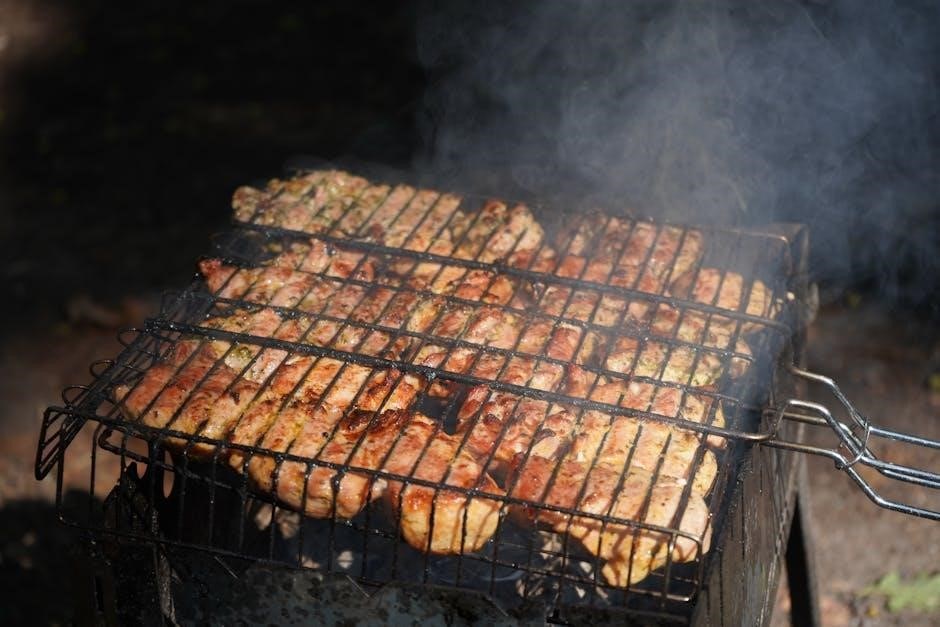
Experiment with different wood chips for smoky flavors․ Chicken, ribs, and steak benefit greatly from this technique․ Utilize online resources and cookbooks for inspiration․ Remember to preheat your grill properly for consistent results․
Don’t be afraid to try new seasonings and sauces․ Screenshot your favorite recipes with the Snipping Tool to build your personal grilling repertoire․ Start with basic rubs and gradually explore more complex blends․
Grilling is about experimentation and enjoyment – have fun and savor the delicious results!
Where to Find Additional Resources and Support
Need further assistance with your Char-Broil grill? Numerous resources are available to enhance your grilling experience․ The official Char-Broil website offers comprehensive FAQs, detailed manuals, and troubleshooting guides․ Utilize the Snipping Tool to capture important information from these online resources for offline access․
YouTube channels dedicated to grilling provide visual demonstrations and expert tips․ Online grilling forums and communities allow you to connect with fellow enthusiasts and share experiences․ Customer support can be reached via phone or email for personalized assistance․
Remember to register your grill for warranty coverage and access to exclusive content․ Screenshot warranty details using the Snipping Tool for safekeeping․ Explore online retailers for replacement parts and accessories․
Don’t hesitate to seek help when needed – a thriving support network is readily available!